How to Create a MetaMask Wallet and Connect with OpenSea
I. Introduction
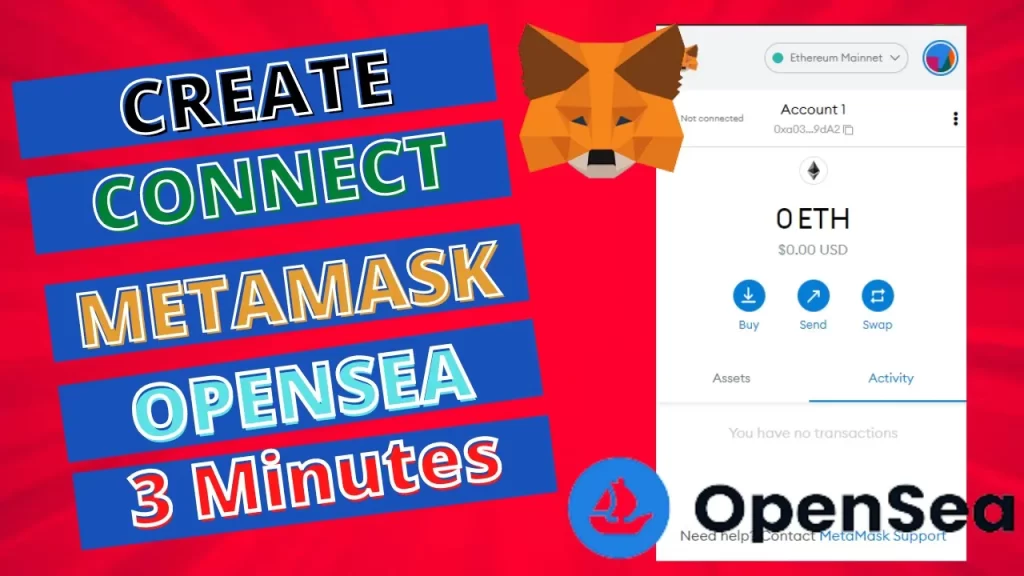
As non-fungible tokens (NFTs) continue to gain popularity, it is important to have a secure and reliable way to transact on NFT marketplaces. One of the most popular wallets for NFT transactions is MetaMask, a browser extension that enables users to securely store, manage, and transact with their digital assets. In this article, we will provide a step-by-step guide on how to create a MetaMask wallet and connect with OpenSea, one of the leading NFT marketplaces.
II. What is MetaMask Wallet?
MetaMask is a browser extension that acts as a digital wallet for Ethereum and other ERC-20 tokens. It enables users to interact with decentralized applications (dApps) and sign transactions securely. Some of the key features of MetaMask include multi-chain support, a user-friendly interface, and the ability to connect with various dApps. MetaMask is compatible with Chrome, Firefox, Brave, and Edge browsers.
III. Creating a MetaMask Wallet To create a MetaMask wallet, follow these steps:
Steps to create a MetaMask wallet
- Download the MetaMask extension from the Chrome Web Store or Firefox Add-ons.
- Once installed, click on the MetaMask icon in your browser to create an account.
- Set up a strong password and backup your seed phrase.
- Verify your seed phrase to ensure that you have a backup of your wallet.
Downloading the MetaMask extension
To download the MetaMask extension, go to the Chrome Web Store or Firefox Add-ons and search for “MetaMask.” Click on “Add to Chrome” or “Add to Firefox” to install the extension.
Creating an account
To create an account, click on the MetaMask icon in your browser and select “Create a Wallet.” Follow the prompts to create a strong password and backup your seed phrase.
Read More: How to generate NFTs?
Setting up a password and seed phrase
A strong password is essential to secure your MetaMask wallet. Your seed phrase is a unique set of 12 or 24 words that you can use to recover your wallet if you lose your password or the device on which your wallet is stored.
Backing up the wallet
Backing up your wallet is crucial in case you lose access to your MetaMask extension or device. To backup your wallet, click on the MetaMask icon, select “Settings,” and then click on “Security & Privacy.” From there, you can verify your seed phrase and ensure that you have a backup of your wallet.
IV. Connecting MetaMask Wallet to OpenSea To connect your MetaMask wallet to OpenSea, follow these steps:
Steps to connect MetaMask to OpenSea
- Sign in to OpenSea or create an account if you don’t have one already.
- Click on your profile icon and select “My Profile.”
- Click on “Connected Wallets” and select “MetaMask.”
- Authorize the connection by clicking “Connect” in the MetaMask window that pops up.
Signing in to OpenSea
To sign in to OpenSea, go to the website and click on “Sign In” in the top right corner. Enter your email address or sign in with your OpenSea account if you have one.
Creating an OpenSea account
If you don’t have an OpenSea account yet, you can create one by clicking on “Sign Up” in the top right corner of the website. Follow the prompts to set up your account.
Connecting MetaMask wallet to OpenSea
To connect your MetaMask wallet to OpenSea, go to your profile by clicking on your profile icon and selecting “My Profile.” Then, click on “Connected Wallets” and select “MetaMask.” Finally, authorize the connection by clicking “Connect” in the MetaMask window that pops up.
V. Buying and Selling NFTs on OpenSea with MetaMask
Now that your MetaMask wallet is connected to OpenSea, you can buy and sell NFTs with ease. Here’s how:
Steps to buy and sell NFTs on OpenSea with MetaMask
- Browse the OpenSea marketplace and find the NFT you want to buy or sell.
- Click on the NFT to view its details and make sure that it is what you want.
- Click “Buy Now” if you want to purchase the NFT or “Sell” if you want to sell it.
- Follow the prompts to complete the transaction.
Browsing the OpenSea marketplace
To browse the OpenSea marketplace, go to the website and click on “Browse” in the top left corner. From there, you can filter by category, collection, or creator to find the NFTs you are interested in.
Buying NFTs with MetaMask
To buy an NFT on OpenSea with MetaMask, click on the NFT you want to purchase and then click “Buy Now.” Follow the prompts to complete the transaction, which will be processed through your connected MetaMask wallet.
Selling NFTs with MetaMask
To sell an NFT on OpenSea with MetaMask, click on the NFT you want to sell and then click “Sell.” Follow the prompts to set the price and other details, and then wait for a buyer to purchase your NFT.
VI. Conclusion
Creating a MetaMask wallet and connecting it to OpenSea is a straightforward process that enables you to securely buy and sell NFTs. By following the steps outlined in this guide, you can confidently enter the world of NFT transactions with ease.
Learn More: How to List Your NFTs on OpenSea for Free Without Paying Any Gas Fees
Final Thoughts
In conclusion, by following the simple steps outlined in this guide, you can easily create a MetaMask wallet and connect it to OpenSea, one of the leading NFT marketplaces. With your wallet connected, you can securely buy and sell NFTs with confidence. Start exploring the world of NFTs today!